Table of Contents
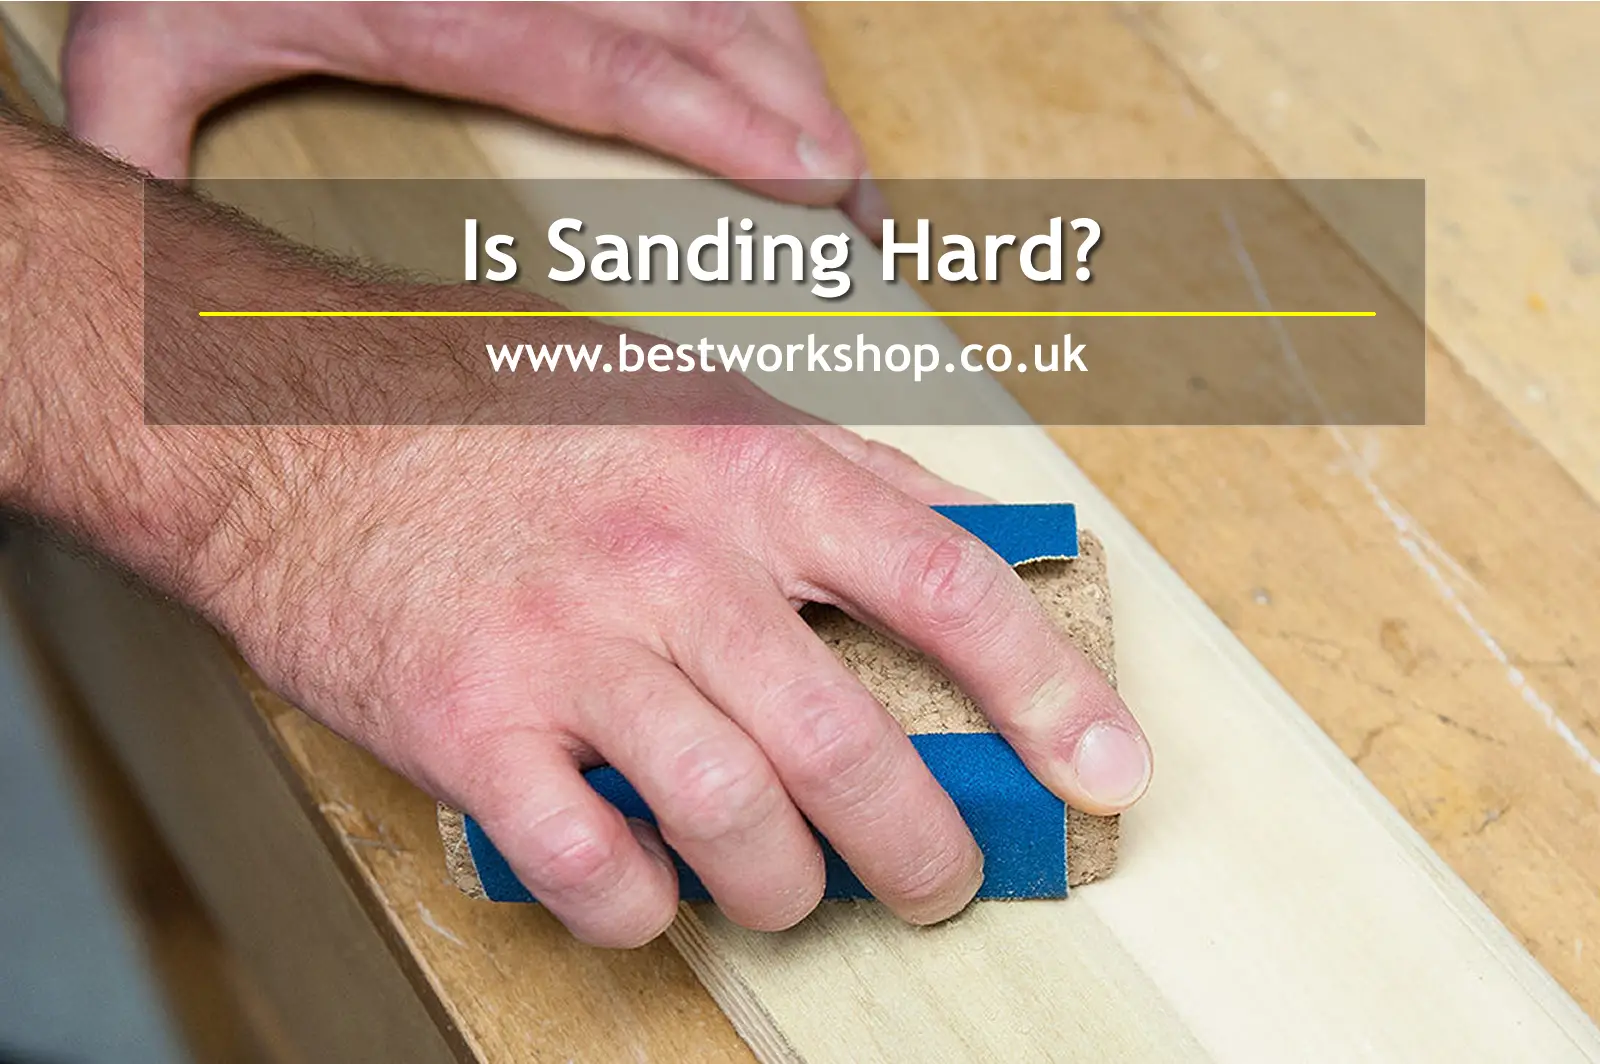
Is sanding hard?
Working with wood involves a lot of different things. When it comes to creating a smooth and even finish, sanding is super important. But a lot of people who are just starting out with woodworking wonder whether sanding is hard and the truth is, it’s really pretty simple.
Is sanding hard? If you use choose the correct sandpaper, apply the right level of pressure and use the most suitable sander, then sanding can be quick, easy and rewarding when you see the results.
Of course, there is a knack to getting it just right and you’ll hone your skills over time. But with so many tools at your disposal, it won’t take long before you’re sanding like a pro.
In this guide, we will be giving you some tips on sanding and discussing some common mistakes that cause the job to be much more of a challenge than it needs to be.
Why Is Sanding So Important?
You might look at a brand new piece of wood that you’ve just picked up from the DIY store or lumber yard and think it already looks pretty smooth. It probably is but sanding gives it that perfectly smooth finish and can turn your project from good to amazing. Here are some important reasons why you should always sand.
- Even if a piece of wood appears to be smooth, there may be slight imperfections that are easily missed when giving it the once over. Sanding will remove these and will help to avoid nasty splinters.
- Most pieces of wood have visual imperfections either because of a natural cause or something that has occurred during processing. In any case, sanding can remove these and help you to achieve a more aesthetically pleasing appearance.
- If you are staining or painting a piece of wood then sanding is a massively important step. There could be minute scratches in the surface of the wood which will be magnified once you apply any products. Removing these through sanding will ensure the smooth, even and consistent finish you are looking for.
- In some projects, you won’t want the corners of your piece to be square and sharp so sanding can help to give a smoother, round edge. You’ll probably use something like a file or router to do the bulk of the work but you’ll need to sand it to finish it off.
- When working on old wood for a restoration project, you’ll need your sanding tools to remove old products ready for reapplication.
What Tools Do You Need For Sanding?
Before we start looking at the power tools available for sanding, we should point out that there’s nothing wrong with grabbing a piece of sandpaper and going for it manually. However, the modern woodworker will need powered tools in many cases so it’s definitely worth knowing what your options are.
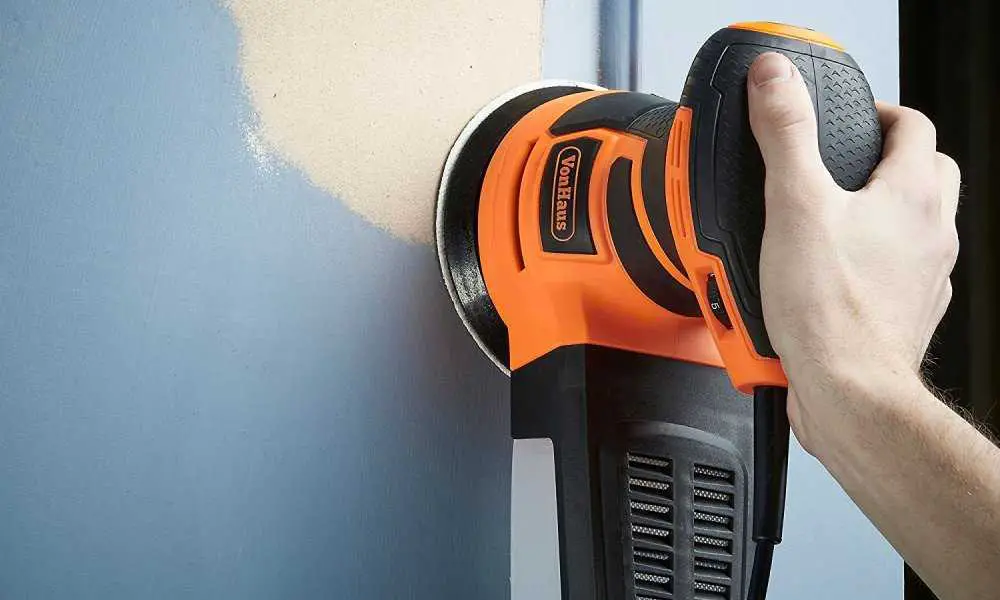
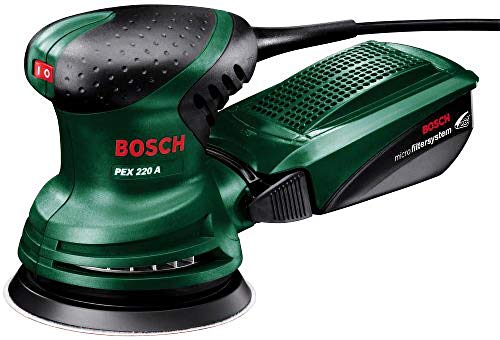
Orbital Sander

- 🌟【6 Speed Control &Powerful Motor】 This...
- 🌟【Efficient Dust Collection】 The sander for...
- 🌟【Vibration and noise reduction】The...
- 🌟【Complete accessories】Provide 12 PCS 125mm...
- 🌟【WHAT YOU GET】 1 * HYCHIKA Random Orbital...
- A random orbit sander with its powerful 220 W...
- Sanding plate with velcro-type fastening, sound...
- Bosch micro-filter system;sanding pad diameter:...
- Softgrip for comfortable handling; Lightweight and...
- The built-in dust extraction element collects dust...
As the name may suggest, an orbital sander moves the sandpaper in orbits or in more simple terms, circles. These tools are excellent for finishing but there is an issue with them leaving marks so most people would finish the job manually.
There are also random orbital sanders which work in a similar manner but remove a lot more material than a regular orbital sander. They’re great if there are a lot of imperfections in the wood that you wish to remove.
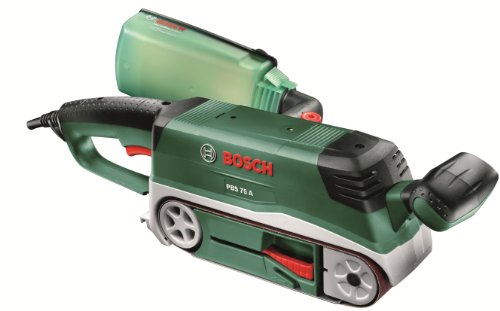
Belt Sander
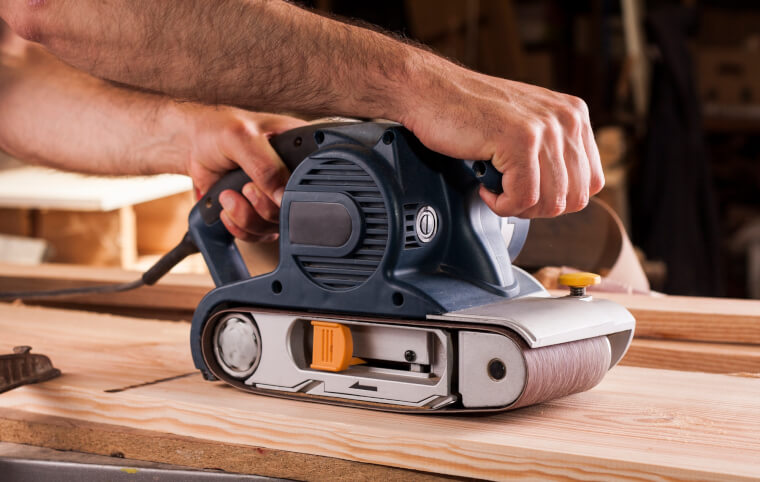
A belt sander is even more aggressive than the random orbital sander and will remove even more material. While belt sanders are excellent pieces of equipment, you should use them with caution because it is all too easy to remove too much material and be left with a gouged out area of the wood.
The best way to avoid problems like this is to keep checking your work but also to ensure that you keep the sander moving and don’t hold it in one place for too long. You also don’t need to apply a lot of pressure to the tool, simply guide it and allow it to do all the hard work.

- Variable speed
- Adjustable file arm angle & narrow sanding belt
- Quick belt tensioning system
- For intricate sanding in difficult-to-access areas
- Ideal for sanding, deburring, weld descaling &...
- Fitted with the Bosch microfilter system for...
- Automatic belt tensioning system makes changing...
- Manual belt alignment is not required as the belt...
- Can also be used for stationary work. Robust...
- Compact design, improved manageability and...
Drum or Disc Sander
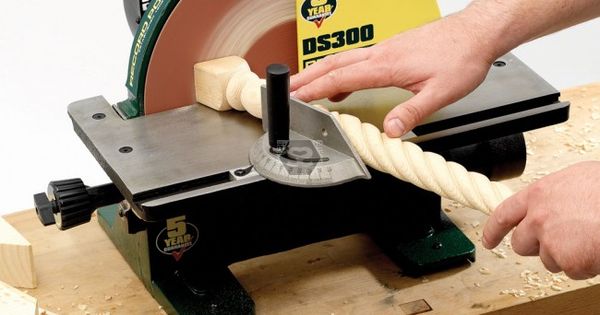
This type of sander is bench or stand-mounted and has a large motor that has a round plate that spins on an axis. You’d usually use disc sanders when finishing the edges of pieces that have been cut roughly using a reciprocating saw, handsaw, jigsaw or other similar piece of equipment.
Common Sanding Mistakes To Avoid
While sanding certainly doesn’t require a degree in rocket science, there are some things to keep in mind when doing it. You may find that you have to go through a bit of trial and error as with anything but by keeping these common mistakes in mind, you’ll be able to dodge problems that could have been easily avoided.
Not Using The Correct Grit
The single biggest mistake made by novice woodworkers when it comes to sanding is not using the right grit sandpaper. The key to good sanding is to choose a sequence of grits which will result in the smooth and even finish you are hoping for.
You’ll need to be careful not to use anything too coarse at any point during the sanding process as this will cause the wood to become scratched. Not only does this look unsightly but you’ve just created more work for yourself to restore it. On the other hand, if you use too fine a grit, you risk spending far longer sanding than is necessary.
Additionally, you need to consider the grit you use on the end-grain. It’s super important not to go too coarse here as the end grain is much harder than the side or face of the wood. If you use sandpaper that is too coarse and ends up with scratch marks, these are going to be much more difficult to put right.
Using 150 grit sandpaper for end grain to start is the best option. Yes, it may take a little longer to achieve the results you want but you won’t have any extra work to do afterwards.
As with all sanding processes, the key is to start with coarse sandpaper to even out the rough edges and lines, then work your way through the grits until you get finer and finer sandpaper. Each grit of sandpaper removes the scratches and marks left by the proceeding grit, therefore, you eventually end up with a very fine finish.
Forgetting To Change The Sandpaper
When you think about it, sandpaper is exposed to friction and pressure, both of which are going to wear down after a certain amount of use. But once you start sanding, it’s easy to forget about this and you’ll just keep going and going often with a piece of sandpaper that’s practically useless.
If you don’t change your sandpaper when needed, you will find that it doesn’t perform as you would expect. Sanding jobs will begin to take longer than usual and you’ll find that the results are not as polished and perfect. You can easily test your sandpaper by running your finger over the surface. When it’s time to change it, the used area will feel vastly different to areas that have not been used.
Using The Wrong Type Of Sander
We have already discussed the different types of sanding tools and it’s definitely worth investing in all of these if you are going to be working with wood a lot. You see, while you could use one type for all sanding jobs, this isn’t going to give you the most favourable results.
If you have a lot of high spots then using a belt sander will make light work of getting rid of these, but once that is done, the same tool won’t be much good for getting a polished finish. It’s important to look at the task at hand and choose the most appropriate tools for the job.
Not Keeping The Sander Moving
If you do not keep your sander moving at all times, it is going to take away more of the wood’s surface than you would have liked. The result is an uneven finish and in the worst cases, there may be dents or impressions in the wood that require even more work.
But even if this unevenness isn’t blindingly obvious to the naked eye, it will certainly show up when you apply stain or paint to the wood as even just slight imperfections will be magnified by the product.
The best way to sand is to get yourself into a rhythm and keep to this until you remove the sander from the wood. But also do keep in mind that you don’t need to apply a whole lot of downward pressure when sanding. Sanding tools are designed to have just the right amount of weight to apply the pressure that is needed. If you push down any more, this could result in further unevenness.
Going Against The Grain
The phrase ‘don’t go against the grain’ is often thrown around in multiple situations but it’s derived from a meaningful place. When sanding, you should not go against the grain when you want to smooth and polish the surface of the wood. It will remove too much material and you won’t end up with the perfect finish.
That said, it surprises a lot of people when they learn that there are times that sanding against the grain is required. For example, when you need to remove mill marks or level out the wood, going against the grain will be much more effective. It’s all about learning which techniques to use and when.
Doing Manual Sanding Without A Block
There is always room for manual sanding in a world of power tools but you really shouldn’t do this with just a piece of sandpaper alone. It’s really important to use a backing block if you want to ensure the smoothest and most even finish.
You see, when you don’t use one, even the impressions of your fingers can result in a less than even finish because the sandpaper is not perfectly flat against the wood.
You should always use a sanding block that suits the surface of wood that you are sanding. For example, if you are sanding a flat face, then a square block would be best, but if you are sanding rounded parts, then a sanding block with a slight concave shape should work better.
Ignoring Sanding Dust
When you’re working on a project, it’s easy to get over involved and forget about mundane maintenance tasks. But the problem is that if you don’t stop and remove the sanding dust at regular intervals, you won’t have the best view of the wood. This means that you may not get the finish you were hoping for so it’s super important to stop and remove that dust using something like a vacuum or a brush. You can even connect this to your sander to make life even easier!
Conclusion
Learning to sand isn’t an overly complicated task. There are, however, some things that you need to keep in mind if you want the smoothest and most polished result. Ensuring that you use the right tool and the right grit sandpaper is a great place to start. You’ll also need to employ the right techniques.
So, if you’ve ever wondered ‘is sanding hard?’, the truth of the matter is, it’s one of the more simple things you’ll have to learn as a new woodworker.