Table of Contents
Keeping an aquarium allows you a glimpse into the marine world without having to leave the comfort of your home. What’s more, it’s a hobby that comes with challenges and so it’s perfect if you want to use your problem-solving skills and take care of livestock.
In the shrimp-keeping world particularly, cholla wood has become one of the most popular tank decorations. Those with smaller fish also realise the appeal of this wood as the fish seem to really love it.
But one of the problems with cholla wood is that it’s very light and so when you add it to the tank, it won’t sink to the bottom from the get-go.
This means that, if you want it to go straight to the bottom, you’ll need to prepare it first. Is it a complicated task? Not at all, getting your cholla wood ready is incredibly simple; let us show you how!
What Is Cholla Wood?
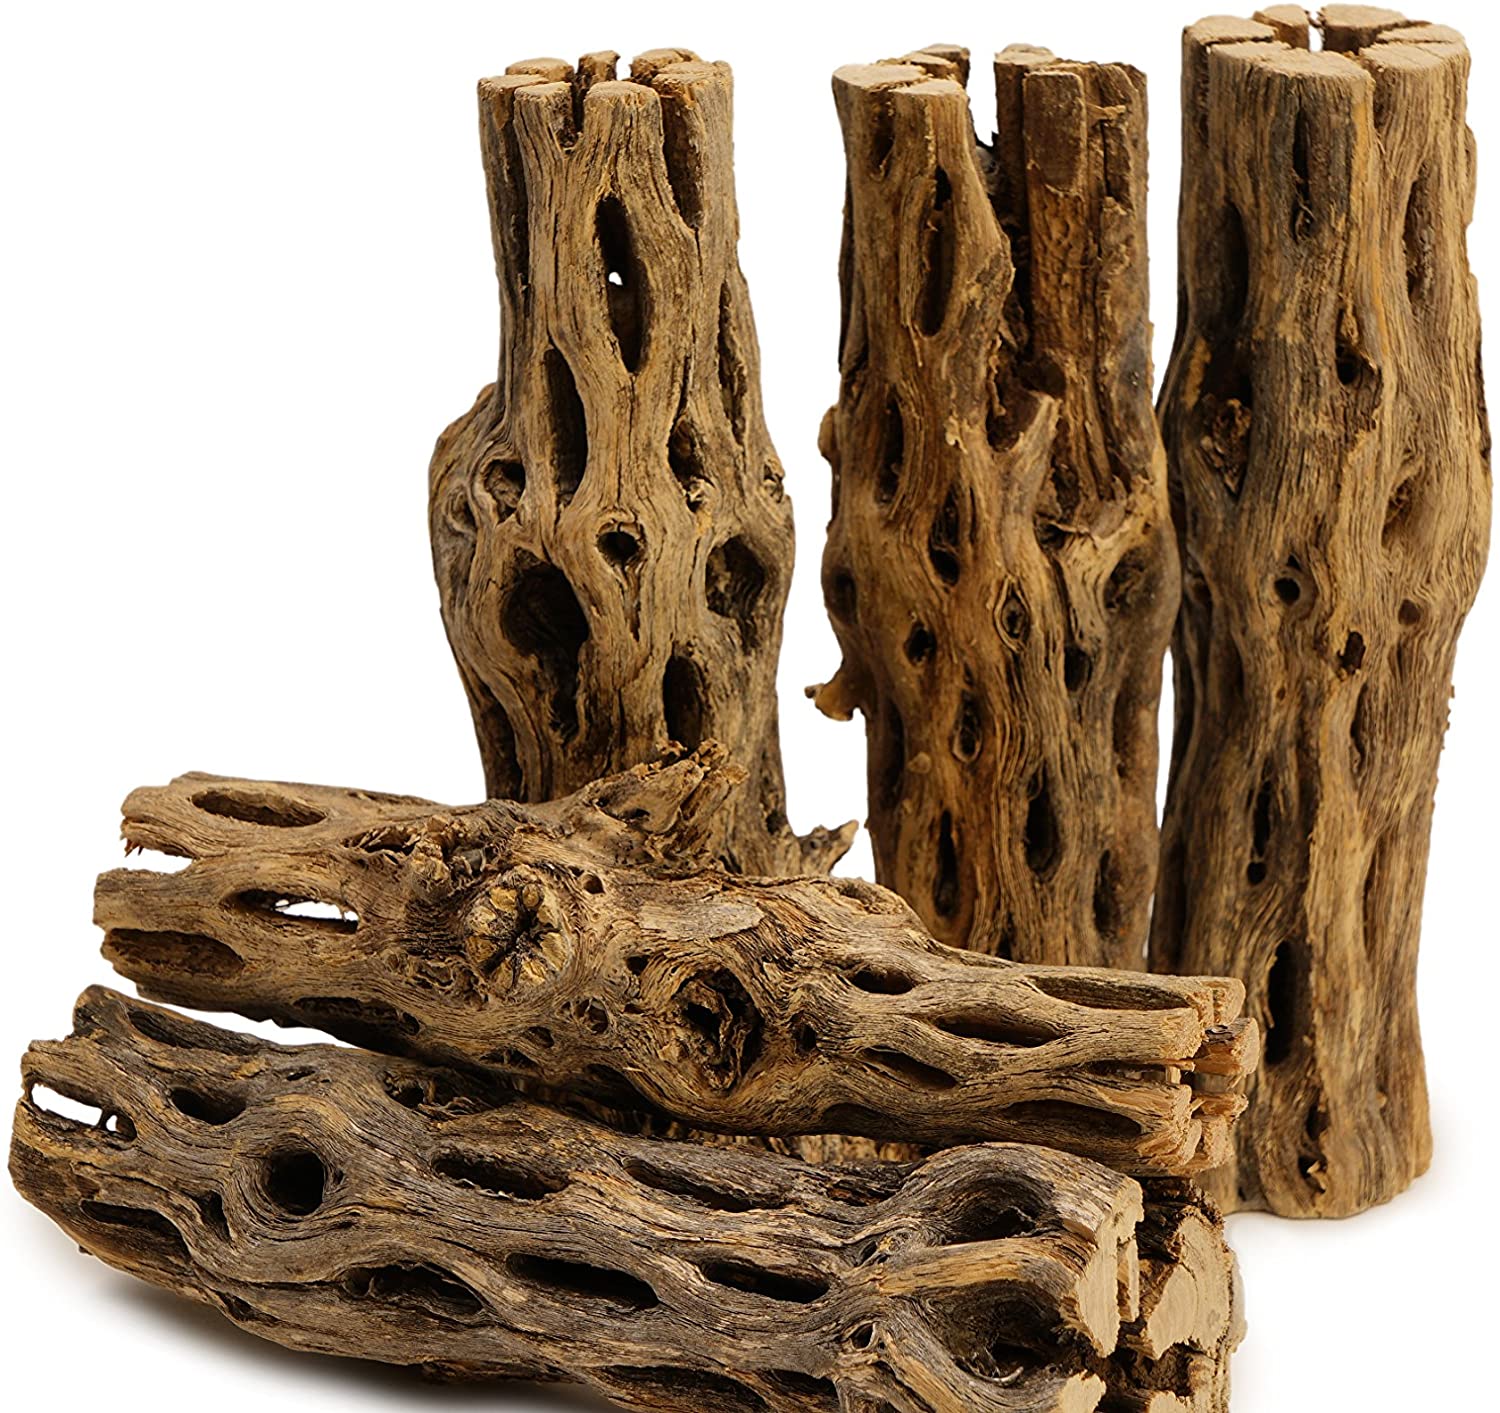
The name cholla wood is a little misleading as it isn’t actually a type of wood. In fact, this material comes from the dried out remains of a particular type of cactus called the cholla cactus.
This succulent usually grows in regions of North and South America as well as in the West Indies. It is easily recognisable thanks to its array of holes and fibrous looking appearance.
You may hear people referring to cholla wood as cactus wood or cactus skeleton but they’re all one of the same thing.
Why Should You Use Cholla Wood In Your Aquarium?
One of the main reasons that people opt to put cholla wood into their aquarium is simply its aesthetic appeal. There’s no denying that this is a very unique looking piece of material that can really add some character to your tank. However, it is far more beneficial than just looking good.
You see, cholla wood breaks down over time due to its soft nature. As this process happens, tannins are released into the water. This does discolour the water slightly giving it a yellowish hue which some people find unattractive.
But if you want the best for your animals, especially shrimp, then this is hugely advantageous as it better mimics their natural habitat.
What’s more, these tannins have antibacterial and antifungal properties that protect your water and its inhabitants. Shrimp are prone to disease so this is incredibly important in preventing that.
If that wasn’t enough, your shrimp and small fish will love having cholla wood in the aquarium. Not only does it give them a place to hide when they’re feeling vulnerable but it can also be a food source. During the breakdown process, a biofilm forms on the surface of the wood and these little creatures will feed off of this.
How To Prepare Cholla Wood For Your Aquarium
Cholla wood is widely available at aquatic stores around the world so it’s not difficult to get your hands on it. You can usually buy it in pieces between four and six inches.
However, if you wanted smaller pieces then it’s entirely possible to cut them using a regular hand saw or even a sharp serrated knife since the wood is so soft.
Cleaning Your Cholla Wood
One of the questions that a lot of people ask is whether you need to clean cholla wood before putting it into the aquarium. The good news is that this isn’t necessary. Even once it’s in the tank, you won’t need to worry about cleaning it as it’ll just break down over time.
That said, if you get a piece of cholla wood that’s particularly dusty or dirty then you might want to give it a quick brush off before putting it into the tank. Some people choose to boil their cholla wood before using it although this isn’t entirely necessary.
Waterlogging Your Cholla Wood
Now, if you don’t have time to waste then there really is no need to prepare the cholla wood before putting it into the aquarium. It’s entirely possible to throw it in and let it become waterlogged.
This process normally takes a couple of days so the cholla will float on the top. Eventually, it will gradually make its way down to the bottom.
However, some people do not like the idea of the cholla floating as it doesn’t look great. In this case, you’ll need to prep the wood. Doing this is so easy and involves nothing more than placing the wood into a container of water and waiting until it is waterlogged.
Doing this will take the same amount of time so you’ll still need to be patient but you won’t have the problem of a piece of cholla floating around the top of your tank for a few days.
Moreover, doing it this way will ensure that you are able to choose the final location of the cholla. When you allow it to sink by itself, it could end up landing somewhere that isn’t ideal.
How Often Should I Replace Cholla Wood?
As we have discussed, cholla will break down over time but this isn’t a process that happens overnight. The length of time it takes will all depend on the size of the wood; larger pieces will take longer.
However, in any case, you can expect your cholla wood to last a couple of years before it’s entirely broken down. So you won’t need to replace it all that often.
That said, some people do not like the appearance of the wood when it really starts breaking down. There’s nothing wrong with removing it from the tank and replacing it with a fresh piece.
Conclusion
Cholla wood is a fan favourite when it comes to small fish and shrimp tanks. It’s an organic material that will break down over time and provides a food source and hiding place for the tank inhabitants.
However, when it’s dry, cholla will simply float at the top of the tank so you’ll need to waterlog it first if you want it to stay at the bottom.
It’s perfectly feasible to pop it in the tank and allow it to soak up water and sink by itself. But if you prefer, you can soak it in a container of water before putting it in.